Usage
SNVPhyl is implemented as a set of tools and a workflow within the Galaxy platform. SNVPhyl can be installed within an existing Galaxy infrastructure, or provided virtual machines and Docker images can be downloaded with both Galaxy and SNVPhyl. Please see the Install guide for more details.
Install
The easiest way to get started is to use Docker. To both install Docker and get SNVPhyl, please run:
curl -sSL https://get.docker.com/ | sh # Installs Docker
sudo docker run -t -p 48888:80 apetkau/snvphyl-galaxy-0.3 # Downloads and runs SNVPhyl and Galaxy
This will install Docker, download the SNVPhyl Galaxy docker image, and run this image in a Docker container. This will take a while to fully download and start up. You may have to start the docker service after installation for Docker to work. This should be a command like sudo service docker start, or sudo systemctl start docker depending on your system. See the Docker Install guide for more details.
Once running, you may log into the SNVPhyl Galaxy instance by going to http://localhost:48888 on your machine. This should present you with a screen like the following:
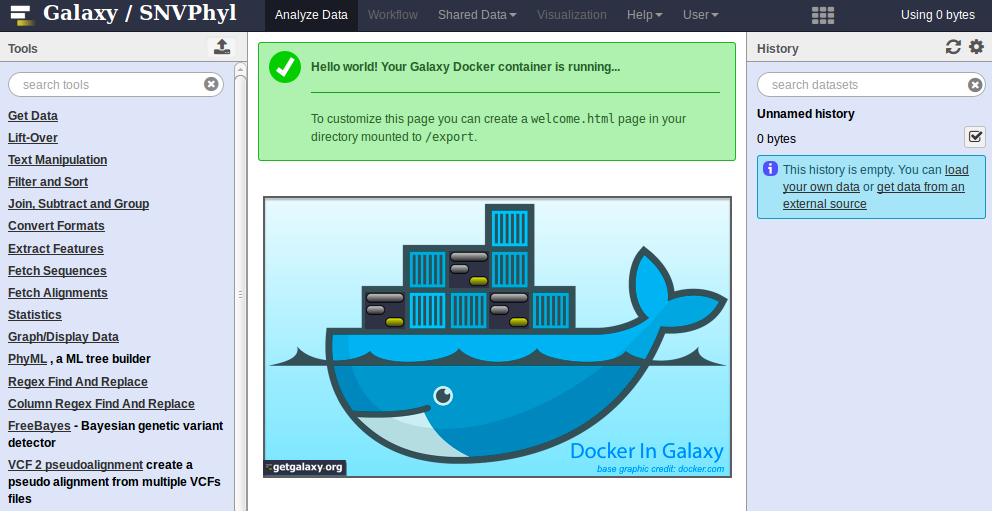
Once Galaxy is started, please login (User > Login) with the credentials admin@galaxy.org and admin.
Note: By default, Docker will not persist any data after it is shutdown. To permanently save information run through SNVPhyl/Galaxy with Docker, please see the SNVPhyl Docker guide.
Input Data
SNVPhyl takes as input a set of sequence reads, a reference genome, as well as an optional masking/invalid positions file to exclude particular regions on the reference genome. A very basic dataset can be found at test-data.tar.gz.
The data must first be uploaded to the SNVPhyl Galaxy instance before it can be used. This can be accomplished by navigating to Get Data > Upload File in your web browser.
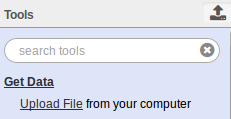
This should bring up a window for uploading files to Galaxy.
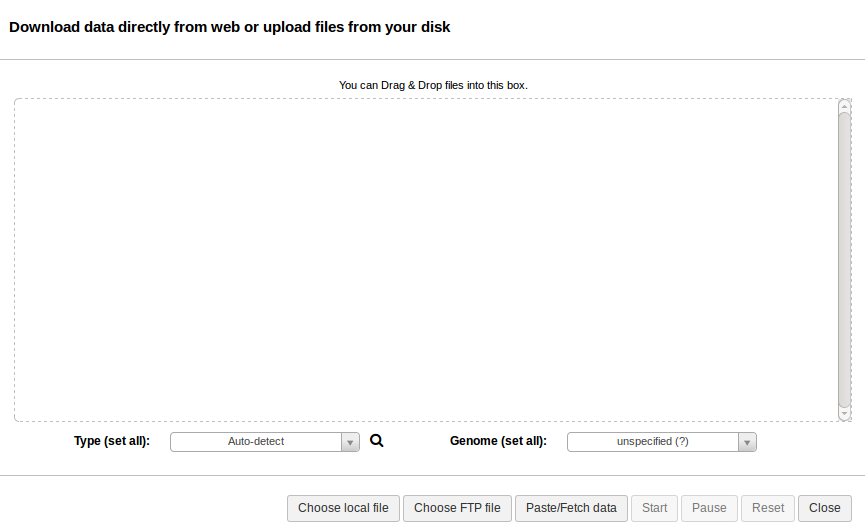
Note: when selecting the fastq files, please make sure the data type is set to fastqsanger. See Preparing Sequence Reads.
Reference Genome
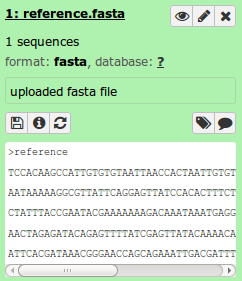
The reference genome should be in fasta format. Galaxy will auto-detected the correct file format on upload. For the test data, this file is called reference.fasta. When the correct file is chosen, click Start to begin uploading. This will schedule an upload task in Galaxy and place the reference file in your Galaxy History.
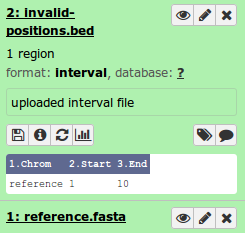
Invalid Positions Masking File
An optional input for SNVPhyl is a list of positions on the reference genome to exclude when constructing a phylogeny. This can be useful for excluding problematic regions such as phage regions, plasmids, etc. The list of regions should be defined in a tab-deliminated (BED-like) file which looks as follows:
#Chromosome    Start    End
reference      1        10
The Chromosome field references the chromosome/contig/fasta sequence name in the reference file.
>reference
TCCACAAGCCATTGTGTGTAATTAACCACTAATTGTGTATAAGTTTAAACTAATTGAAAAGGTTATCCAC
The start and end are start/end coordinates on this fasta sequence.
An example file, invalid-positions.bed, is provided in the test dataset. Select and upload this file similar to uploading the reference genome. When complete, the file should show up in your Galaxy history.
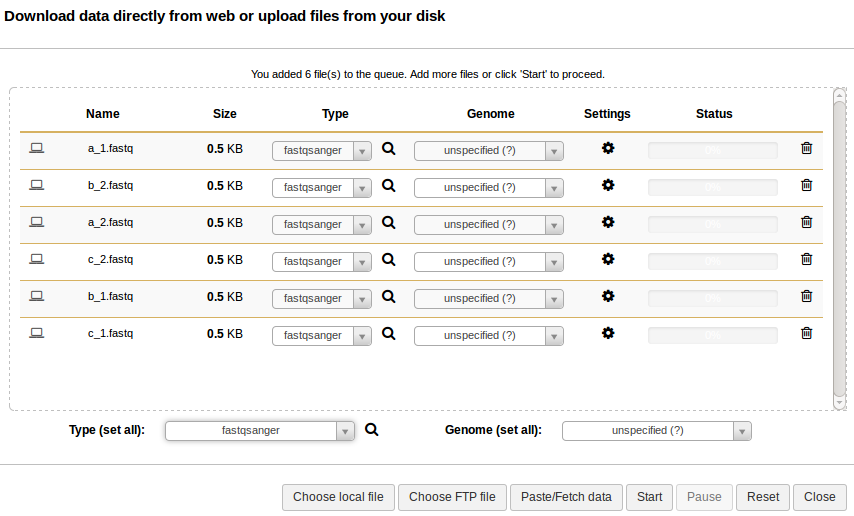
Sequence Reads
Sequence reads should be uploaded to Galaxy in the fastqsanger format. From the upload window, select the all the sequence reads under reads/ and set the type to fastqsanger (Galaxy defaults to type fastq, which is not as useful). This should look like the following.
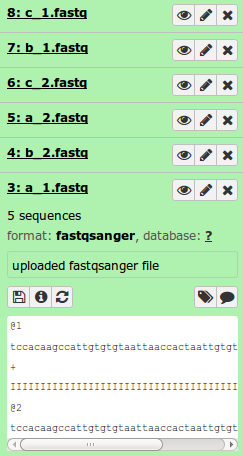
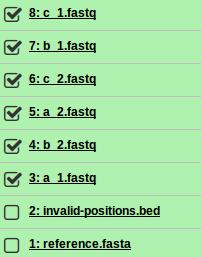
When all the reads are uploaded, you should see the following in your Galaxy history.
Preparing Sequence Reads
SNVPhyl makes use of a data structure in Galaxy called Dataset Collections. Dataset collections allow the grouping of files into a single entry in Galaxy to execute in a workflow. The SNVPhyl workflow assumes all sequence reads are combined in a paired-end dataset collection, which will properly associated each pair of sequence reads files.
To construct a paired dataset collection of reads in Galaxy, please do the following:
-
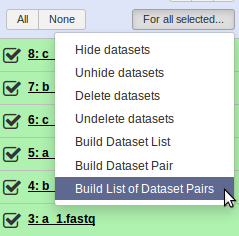
Select the Operate on multiple datasets button in the Galaxy histories panel.
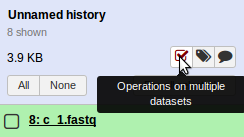
-
Select all the fastq sequence files.
-
Select For all selected > Build List of Dataset Pairs
-
In the screen that follows, all the sequence reads should be automatically paired.
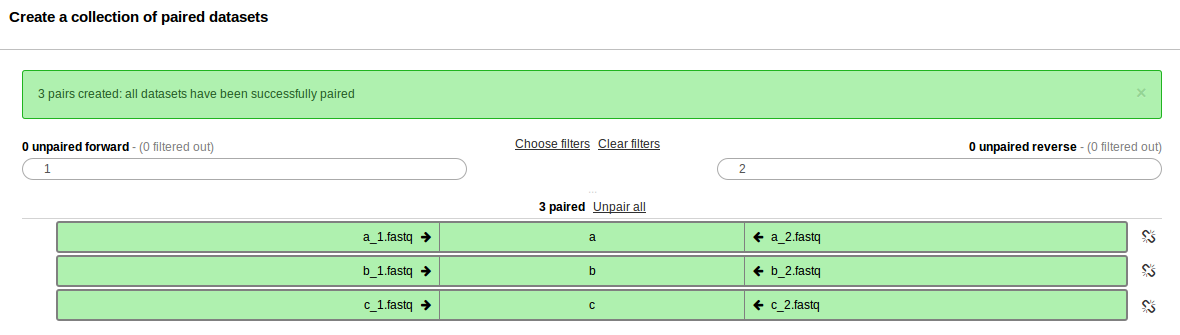
Give the collection of files a name and select Create list.

The set of paired files should appear in your Galaxy history.

Running the Workflow
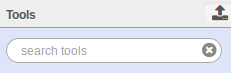
Once all the data has been prepared, the workflow can be run. The installed workflows can be found in the Galaxy Tools panel at the left of the screen.
Near the bottom.
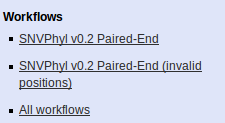
Or, alternatively, by clicking on the Workflows menu at the top 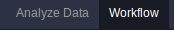 .
.
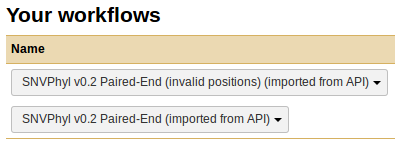
There are two installed workflows, SNVPhyl v0.3 Paired-End and SNVPhyl v0.3 Paired-End (invalid positions) which differ only in that one workflow includes the addition of an invalid positions masking file. Selecting the appropriate workflow brings up the Parameters screen.
Parameters
All parameters for each tool can be overridden in Galaxy, but a few key parameters will appear at the top of the parameters page.
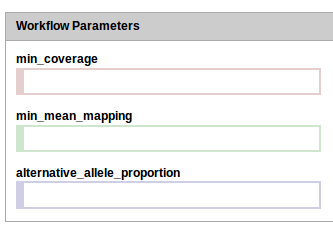
These parameters represent:
- min_coverage: The minimum coverage for any given position on the reference genome to be included in the analysis. A reasonable value here is 10 or 15.
- min_mean_mapping: The minimum mean mapping quality score for all reads in a pileup to be included for analysis. A reasonable value here is 30.
- alternative_allele_proportion: The proportion of reads required to support a variant to be included in the analysis. A reasonable value here is 0.75.
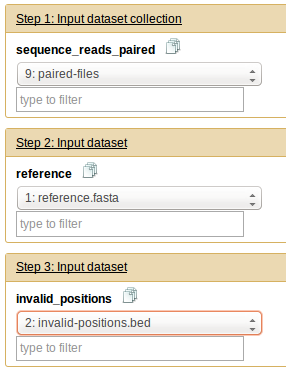
Once parameters are selected, the input files can be selected.
Input files
Galaxy should automatically detect the appropriate input files from the current history. However, please verify that it has picked up the correct files. If the workflow SNVPhyl v0.3 Paired-End has been selected then there will be no option for selecting an invalid_positions file.
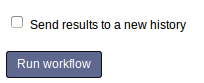
Run
Once the parameters and input files have been selected, you can run the workflow by clicking the Run workflow at the bottom of the screen.
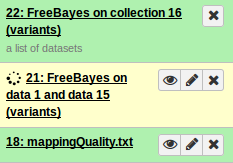
This will start the workflow. You may have to refresh your page to see each step being executed. This should look like:
Results
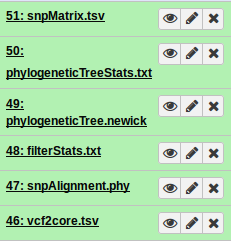
On completion each item in the Galaxy history should show up as green. The very top should contain the main output files.
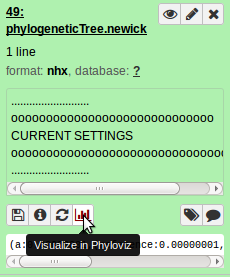
In particular, the file phylogeneticTree.newick contains the ouput phylgeny. This can be quickly visualied using the built-in viewer in Galaxy by selecting Visuzlize in Phyloviz.
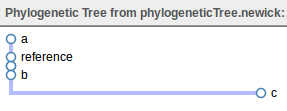
This loads up the phylogeny in a viewer similar to below.
All intermediate files in the workflow can be inspected by first selecting the Galaxy history options.
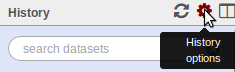
Then selecting Unhide hidden datasets.

For more information about interacting with data from Galaxy, please see the Learn Galaxy page.
Managing Errors
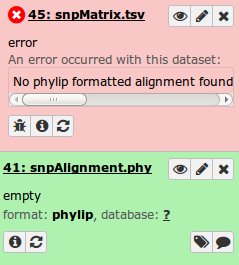
When an error occurs for a tool in Galaxy, the dataset boxes in the history will show up in red. Clicking on the bug icon will bring up more details about an error.
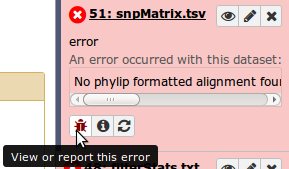

In this case, the message reports no valid phylip alignment. Checking the SNV/SNP Alignment file shows it is empty.
This indicates no valid SNVs were detected, which could be caused by very little data in one more more samples. Confirming this can be done by examining some of the additional output files decribed in the Output section.
If examining the datasets does not help diagnose the issue, then examining the Galaxy log files can be helpful. With Docker, these should be printed to the screen. With other installation methods the location may vary. Please refer to the Install section for more details.